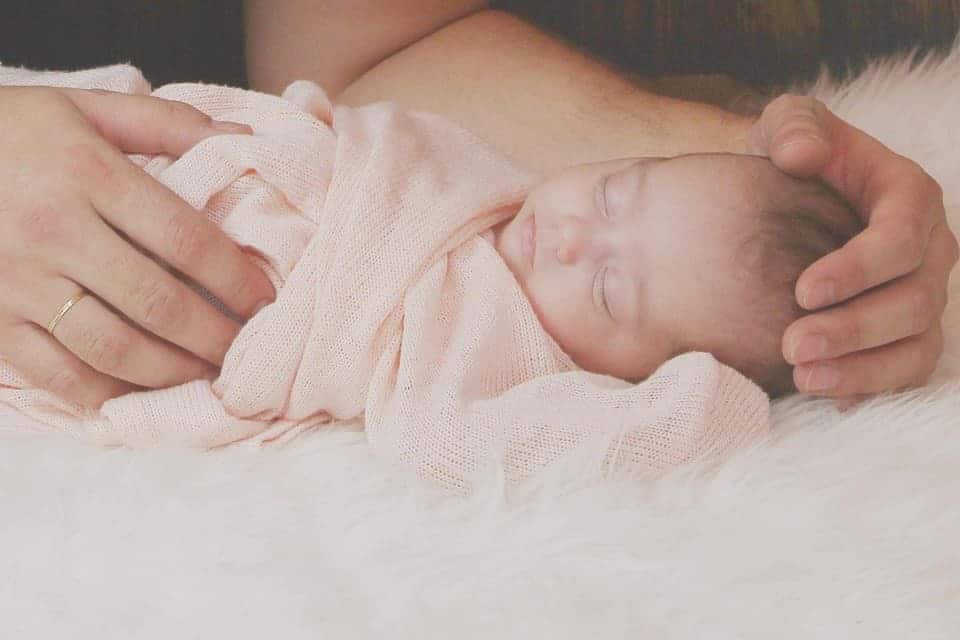
Everyday Parents’ Guide on How To Take Newborn Photography Like a Pro
Taking Newborn Photography Like a Pro (when you are not..)
As parents, we often feel overwhelmed by how quickly our baby is growing and changing with each new day. Many parents want to capture the moments through photography. In an ideal world, I would like to have a professional photographer husband to capture all the precious moments for our family; however, I did not marry a photographer. With the average price of a 2-hour session with a newborn photographer being $600 to $900, I have decided to take on the nearly impossible mission of learning how to take newborn photography like a pro.
When I first looked into newborn and baby photography, I literally had 1000 questions in my mind. I’m sure these are all common challenges for any newbie mommy-photographer. So in this blog post, I am going to reveal all the secrets on how everyday parents can take baby photography like a pro. Trust me, if I can do it, you can too!
Is Taking Newborn Photography Safe for My Baby?
In the past couple of years, we are seeing more and more parents posting pictures of their newborns in all sorts of adorable poses. Thanks to social media sharing on Facebook, Instagram, twitter, Pinterest, etc., there is no shortage of ideas. My facebook feed, for example, is 80% baby pictures posted by friends and relatives.
As cute as those pictures look, there are potential dangers with taking newborn snapshots.
- Newborns have soft and immature eyes. Experts have said that while babies will shut their eyes when exposed to light on reflex, just milliseconds of strong light can cause permanent damage. In fact, a 3-month old baby is left blind in one eye after a family friend forgot to turn off the flash while taking a close-up photograph. Baby left blind after family friend took photo while flash was on
- Some adorable poses for infant photo are actually dangerous to try at home. In fact, some poses are only possible with the help of Photoshop. Newborn babies could really get hurt if inexperienced parents and/or photographers try to force them into awkward and unnatural positions to produce the desired outcomes. These Baby Photo Poses Are Actually Dangerous To Try At Home
That being said, photos have been used for generations to capture precious memories. Newborn photography can still be done safely as long as we exercise caution.
Do I Need Crazy Expensive Camera and Equipment for Newborn Photography?
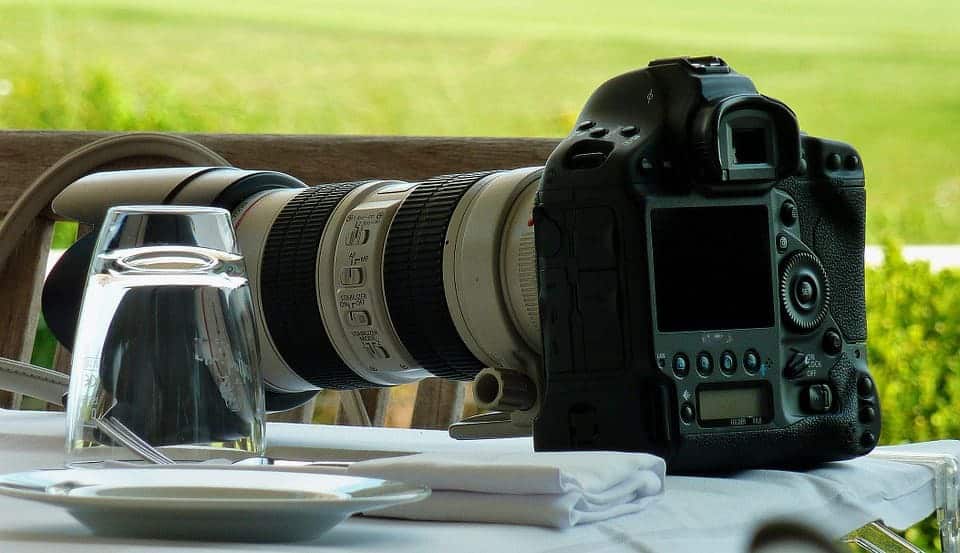
The first thing you need to do before you can start taking photos of your newborn baby is to decide which camera to use and what accessories you need.
I did some research on the essential items newborn photographers buy, and how much they spend on equipment. It turns out the list is quite substantial:
- Professional DSLR Camera that falls between midrange to high-end spectrum that can take high-quality images without needing to use a flash
- Prime lenses with larger apertures for sharper, high-quality images with less visible aberrations
- Pop-up reflector for better natural lighting
- Softbox for cases when natural lighting is not available
- Props to add interesting elements to photos, i.e. fluffy blankets, baskets, stuffed animals, hats, angel wings, costumes, etc.
- White noise machine to calm or put the baby to sleep
When all these add up, it could end up being in the range of $10000 to $15000!
Taking Newborn Photos DOESN’T Have to be Expensive
Don’t let the list scare you. As non-professional photographers (aka parents), we don’t actually need to purchase all the items on the list, unless you have a huge budget to spend.
1. Use Smartphone Camera
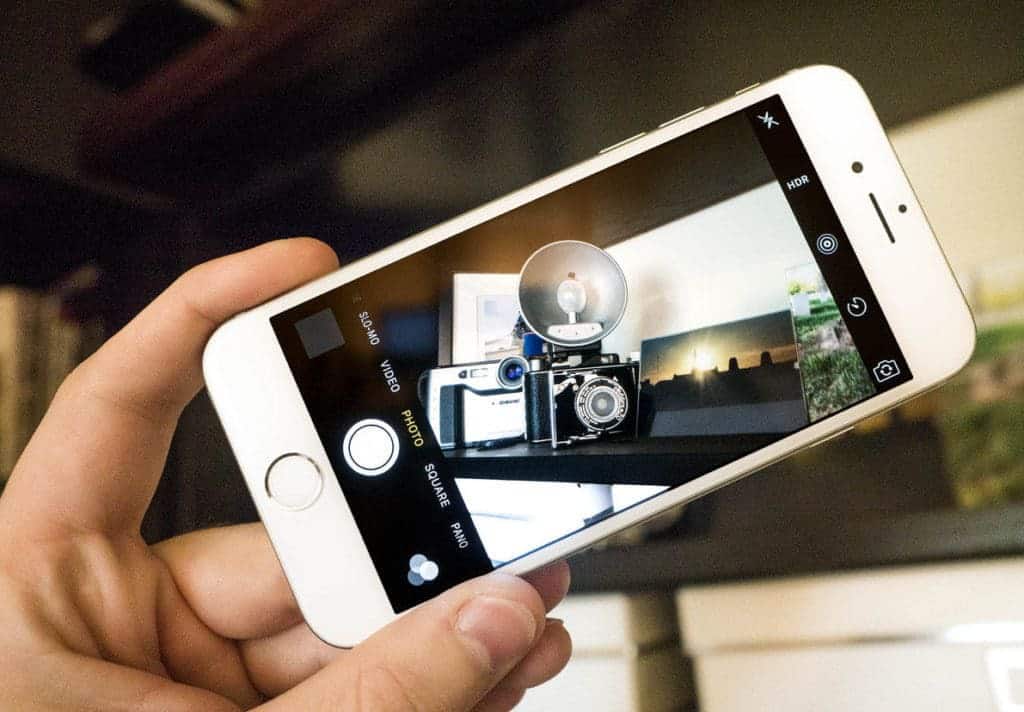
For camera options, if you already have a camera that you are happy with at home, you may want to just use it. And better yet, most of us have a smartphone with high-quality camera (sometimes even better than an actual camera!). From experience, some of my most impressive pictures were taken with my iPhone 7 Plus. Here are some tips on how to take professional-like baby pictures with a smartphone:
- Do not zoom: This is my number 1 tip for all of you. When you zoom, it lowers the quality of your image. Instead of zooming, get close to your baby.
- Avoid the flash: When I take baby pictures, I always leave my flash off. Not only is it better and less distracting for the baby, I never get a good result from the drastic flash from a smartphone.
- Use portrait mode: For smartphones with dual cameras like iPhone 7 Plus, iPhone 8 Plus, and iPhone X, you can create a depth-of-field effect where the photo keeps your subject sharp while creating a beautifully blurred background by using the portrait mode.
- Take a lot, delete later: If your phone has a burst mode like mine for taking photos, take full advantage of that! Babies and kids blink and move, so by snapping several pictures in a row, you can be sure that you have at least captured a good picture. Don’t be afraid of taking multiples, you can always delete the unwanted ones later.
- Clean your lens: You know how dirty your phone gets. Keep a microfiber cloth handy to clean your camera lens so your baby photos can stay smudge-free.
2. Use Natural Lights
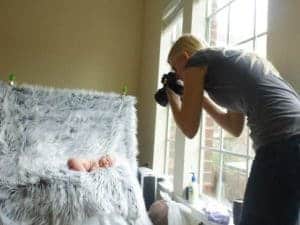
For lighting, of course, it would be nice to have the whole set of equipment like reflector and softbox. However, even for professional photographers, using a bright window as a natural light source is always preferred. Plus, it’s free! Here are some tips on how to find the best light inside and out:
- Walk through your house: Make note of which rooms are brighter than others. Make sure you do it several times throughout the day as lighting changes depending on the time of the day.
- Use white poster board as reflectors: If you find that light is really bright on one side of your baby’s face and the other side is in shadow, try folding up a big piece of white poster board. The light will bounce off the poster board and fill the shadows.
- Choose cloudy days: As gloomy as they might be, cloudy skies are actually great for taking photos because the clouds act as a natural filter and cause no shadows.
- Look for shades: If you find your baby squinting because of the bright sun, pick an area with tall buildings or leafy trees for photo taking. However, be cautious of unwanted funky shadows if you choose to do this.
- Sunrise and sunset: If possible, have your photo session 30 minutes before and after sunrise or sunset. You get the best light during these times.
3. User Free or Low-cost Photography Editing Apps
For post-editing, I have photoshop at home so it wasn’t an issue for me. For those of you who don’t have access to a post-editing software, there are plenty of free or low-cost photography editing apps available through the app store and google play.
4. User Free White Noise and Baby Music Apps
For white noise, you can always download a free app like BabyMozart that has white noise and other relaxation music for babies.
If You Must Buy a Camera: Point-and-Shoot vs DSLR
If you have decided to buy a camera, the type of camera you choose will impact your photography for years to come. Do you know which type of camera is right for you? Should you purchase a point-and-shoot model or invest in a DSLR? There are benefits to each type, and I’ll highlight them here so you can make the best decision.
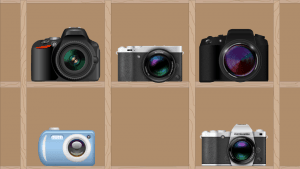
Things to consider when buying a point-and-shoot camera for Newborn Photography
Today, point-and-shoot cameras are better than they have ever been in terms of performance. Some advanced models even allow you to control your aperture and shutter speed to some degree. But when it comes to the ability to control exposure, create soft-focus backgrounds, and have enough speed to capture the moment, they are still lacking behind the good old DSLR. On the other hand, point-and-shoot cameras are often more affordable and portable. Look for these four features when you are shopping for a point-and-shoot camera for newborn photography:
- Fast/Continuous Shooting Mode: This is very important. To capture the movement of babies, make sure you have the option of a fast or continuous shooting mode so you can take multiple images per second or frames per second.
- Enough megapixels: This shouldn’t be a problem in today’s world. Most cameras have enough megapixels (9+) to make 8 x 10 prints. Anything higher is an added bonus.
- Good size and weight: Is it easy to hold? Is it heavy enough for you to hold it steadily? Is the size portable enough for you to carry it around? All these are important consideration factors when it comes to a point-and-shoot camera.
- Zoom and Wide-angle features: Point-and-shoot cameras don’t allow you to switch lenses, so when you are buying one, make sure you get one that has the ability to zoom in for close-ups or zoom out for wider shots. You want the zoom to be optical zoom rather than digital zoom for high-quality photos.
Things to consider when buying a DSLR for Newborn Photography
If you use it correctly, owning a DSLR opens you up to a world that your point-and-shoot couldn’t reveal to you. With a DSLR, you can control everything from exposure to speed. Here are some tips when shopping for a DSLR:
- Ditch the kit lens, and put your money towards a great lens: To be honest, the kit lens that comes with the camera isn’t worth much and using it will make you wonder why you upgraded from you point-and-shoot in the first place. Instead, buy a more expensive DSLR camera body and invest a couple of hundred dollars in a fixed 50mm lens to get the dreamy, buttery, blurry background effect. The 50mm lens has a low f-stop (v/ 1.8), meaning a wider aperture that requires less light and gives you those deep, soft-focus backgrounds.
- Look at the menu: Is the menu user-friendly, intuitive, and easy to navigate? Having the ability to react fast will make all the difference when you are capture baby moments.
- Weight and size: As a woman, I like my camera to be on the lighter-weight side; but everyone is different. So whenever possible, try holding the DSLR you are considering. Does it feel too heavy or too light? Does the size fit into the size of your hands? You would want to get something that you are comfortable with.
- Choose a brand and stick with it: As you grow into photography, you might want to buy more lenses or a second camera body in the future. So it’s best if you choose a brand family like Sony, Canon, or Nikon, and stick with it.
- Cost considerations: DSLR on average costs about 3 times more than a point-and-shoot. You have to evaluate if the extra investment is worth it for you and your family.
Newborn Photography Safety
 Before we go into how to take great newborn and baby photos, it is important to know that the safety of the baby is the most important aspect. Especially when newborn photography, babies are usually less than 10 days old. The worst thing that could happen is hurting or dropping a baby during the process. When I’m taking pictures of my own son, I always follow these safety rules:
- Never leave a baby unattended, whether you are using a prop or not
- Always have an assistant, i.e. your partner, next to the baby
- Use a support hand or finger when posing the baby – you can always photoshop it later on during post-editing
- I know you see a lot of cute poses on the internet, but when you are doing baby photography, never force a baby into any pose. Instead, adjust them to where they are comfortable.
- Always wear camera strap when shooting above the baby to prevent dropping the camera onto the baby.
- Never put a baby inside an object or prop that could potentially break or fall.
- Small props that could be swallowed accidentally should never be used.
- Glass props or anything breakable should never be used.
Composite Images
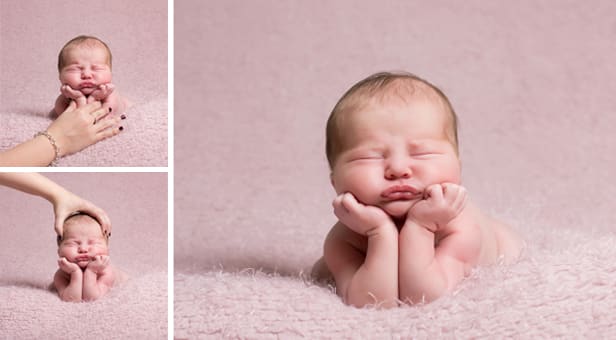
One important note on the really cute poses you often see online or on your facebook feeds – These physically-impossible poses, i.e. froggy, cocoon, etc. can only be created using software like Photoshop to put multiple images together. DO NOT try to attempt to force your baby into those positions, you will really hurt your baby. If your baby isn’t going into a position easily or is showing signs of discomfort, use common sense, and stop.
Taking composite newborn images is an advanced skill even for seasoned photographers. If you are interested in learning more about the process, here’s a guide on how to composite newborn images and keep babies safe. However, my suggestion is that if you really want to have composite pictures taken for your newborn, it’s better to hire a professional.
Getting Ready for Newborn Photography Session
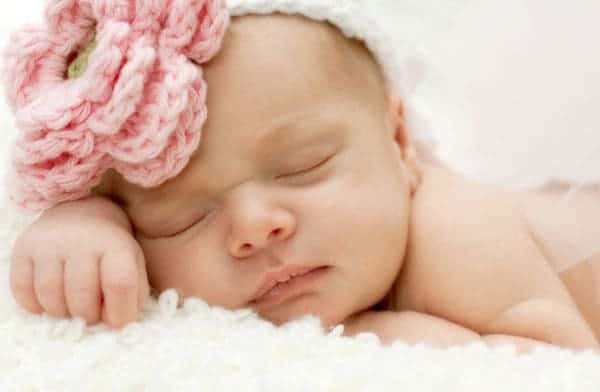
With a little bit of planning and preparation, your newborn photography session will go more smoothly. I’ve compiled a few tips to help you get the very best out of your newborn photography experience:
- Do it early: Newborn sessions must be done within the first 14 days of life. The best time is actually between 3-7 days after birth when they are almost always sleepy. With newborn photography, you are moving the baby around and scrunching them into sweet sleepy poses, so you really want to do it when they are sleepy enough.
- Turn up the heat: Since baby will likely be naked during the photography session, you should keep your home a bit warmer than usual during the session. Newborns are used to being all bundled up and warm, cranking up the heat will help them feel much more comfortable (and less cranky!)
- Loosen up: Loosen your baby’s diaper and clothing at least 30 minutes before the session. This will ensure your baby’s skin is smooth and has no little diaper imprints on it.
- Put your baby to sleep: The shooting of newborn photos work best if the baby is in a deep sleep. So do whatever you can to make sure baby is well fed, comfortable, and relaxed.
- Keep it quiet: To prevent baby from waking up during the session, you will want to keep the noise level to a minimum. If you can, play some white-noise in the background, this will keep your baby calm and sleepy, and at the same time, block out external noises.
- Use props: Bowls, baskets, blankets, stuffed animals, knit hats, and headbands, etc. Use whatever props you think would enhance the texture and color of your pictures and make them unique.
- Make the bed: You don’t need fancy beddings for newborn photography. But for best results, make sure you make the bed, have a solid blanket/comforter that is not too busy, and use white to light cream bedding to keep things light and airy.
- Posing: Posing is important when you are taking newborn photos. First of all, newborns have very little control over their limbs, so they tend to flail about. And secondly, most newborns burrow their heads into whatever is nearest them and hide their faces. Also, most newborn’s legs are long and skinny, so rather than sticking them straight out, tucking their legs up makes a much cuter looking photo. Here’s a great website on how to pose newborn at home for photos. These poses are easy and safe to do for beginner photographers.
Top 10 Common Newborn Photography Mistakes to Avoid
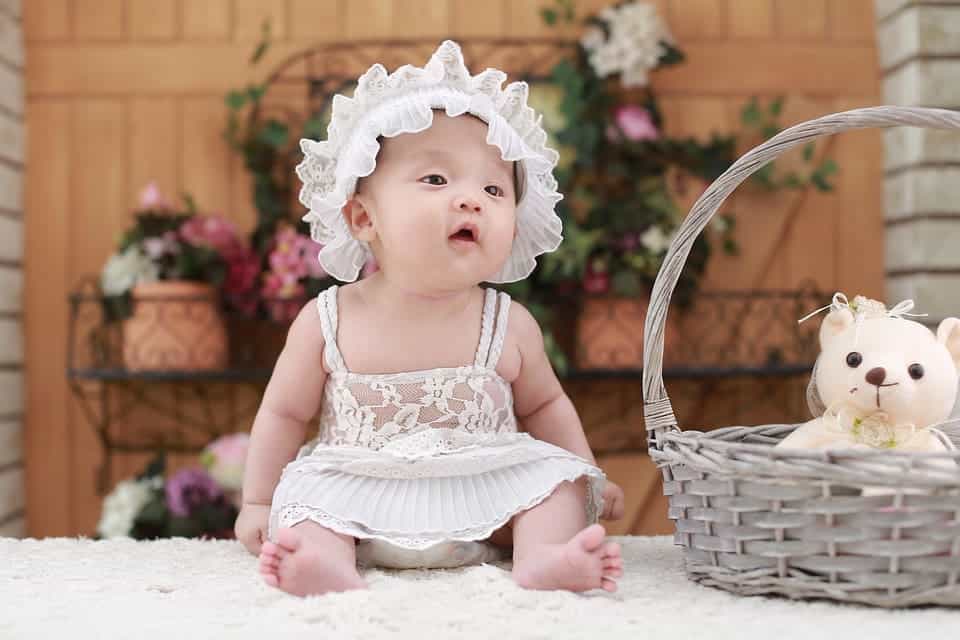
I’ve made a lot of mistakes when I first started taking newborn and baby pictures. Upon doing tones of research and learning from my own and my peers’ experience, here are the top 10 common mistakes you want to avoid when it comes to baby photography:
- Too much background: When a picture has too much background, you feel like as if the background is swallowing up the baby. So instead of taking a picture with lots of backgrounds, get closer to the baby and make your baby the focus of the picture.
- Using the built-in flash: Never, ever use the built-in flash, whether you are using an actual camera or a smartphone. When the flash is on, it either gives your baby a five o’clock shadow or creates a black cavernous effect behind him. Always look for a natural light source.
- Baby in the center: This is a common mistake many newbie photographers make. Instead of always having your subject front and center, you should make your composition off-center and follow the “Rule of Thirds”. Basically, when you are taking a photo, imagine splitting your frame into thirds (3×3 grid) and placing your baby in a specific third. This would make your photo much more artistic and interesting to look at.
- Look at the camera: Many parents try to get their babies to always look at the camera and say cheese. But when you are doing baby photography, you want to capture the moment and tell a story rather than having every picture with your baby looking into the camera.
- Using the camera’s default settings: This is especially true if you are using a DSLR. Spend a few minutes changing your camera’s settings. You will be surprised how a few quick adjustments can make all the difference in your photos.
- Using a short camera strap: The strap that comes with the camera is usually too short. By investing in a longer, softer camera strap, you will feel much more comfortable when shooting.
- Shooting adults straight on or from a low angle: Many times when you are doing newborn photography, you might want to shoot an adult holding the baby. When you shoot an adult straight-on or from a low angle, it makes them look BIG. Instead, have the adult stand at an angle and try holding the camera a little higher than the person’s face (just like how you would take a selfie).
- Dark images: If you have tried your best in finding the best natural light and your photos still look dark, you can try to raise your ISO to make the camera more light-sensitive.
- Expecting to get the perfect photo the first time: It is easy to be discouraged when you don’t get the perfect photo the first time. Keep in mind that even professional photographers often do “do-overs”. Keep trying, and I promise you will get the photo you want.
- Putting away your camera: I have missed so many precious moments just because I have put my camera away. When taking baby pictures, you want to leave your camera out in a place near you so when you see a cute moment, you can capture it right there.
Top 10 Tips for Getting Great Baby Photo Shoots
Now, after going through all the mistakes to avoid, it’s time to list out my top 10 tips for taking baby photos like a pro (when you are not):
- Plan your photo: Always picture the end product in your mind, and set your scene and the main element of your image accordingly. This minimizes the amount of time you spend on “re-takes”
- Get close: I can’t stress this enough. Get closer to your baby and fill the frame with his or her sweet face.
- Shoot in the morning or late afternoon: Again, 30 minutes before and after sunrise and sunset give you the best lighting. During these times, the lighting is more flattering. If you shoot during noon, you will likely see shadows under the eyes and babies squinting as the sun blinds them.
- Back towards the sun: Instead of having people facing the sun and squint, have them stand with the sun behind them. This will give you a rim-lit effect that could be pretty cool.
- Turn off indoor lights: When your room seems dark, turning off all the indoor lights will make the light coming from a window much stronger and more dramatic.
- Go outside: Baby photos, even newborn photos, can be taken outside rather than inside. This way, you get more natural lighting, and you can enjoy some outdoor moments with your baby.
- Use concrete: If you go outdoors, instead of going to the park, try shooting in areas with lots of concrete like parking lots. Sunlight bounces off concrete and flatters the skin. Trust me, the pictures turn out way better than pictures we take on grass.
- The bigger the better: You camera will give you several image size and quality options, always pick the largest JPEG and finest quality. The larger the image file, the better the quality.
- Do not delete images: Try to resist the temptation of deleting pictures you don’t like on the small camera display. Sometimes, a photo looks way better when you look at it on a computer.
- Always enhance: Photos post-editing is an essential part to any photography. I always shoot my pictures in color and enhance them by applying filters or changing to black and white with photoshop afterward.
Everyday Parents CAN Take Newborn Photography Like a Pro Too!
I really enjoyed taking photos of my son. My son is now 3 years old and I’m still taking lots and lots of pictures of him. I have my iPhone or camera with me all the time, and am always ready to action. Although after 3 years of constantly taking photos, I still can’t say I’m a professional baby photographer; however, I’m a pretty confident mom with just enough photography skills to capture my son’s cutest moments. I hope this blog post helps those of you who are trying and learning to take newborn or baby pictures yourselves. If you have any other tips on newborn or baby photography, please share them by commenting below!

Love Baby Mozart?
Follow us on Social Media!
Subscribe today to get exclusive advice on our latest parenting tips, brain development tools, music and songs updates, and much much more! Remember, it's 100% FREE!


